Integrate with GitHub
GitHub is a platform where you can create and build applications. You can use your own instance or an existing one.
In the following guide you will update a GitHub repository with its own OpenTestFactory workflow that will run whenever you push changes on your repository.
You need to have access to a repository on a GitHub instance, and you need to be able to start GitHub actions on that repository.
You also need to have access to a deployed OpenTestFactory orchestrator instance, with a corresponding token, that is accessible from the GitHub instance.
You will use the opentf-ctl tool.
Preparation
You need to define two actions secrets. You can do this as environment secrets, as repository secrets, or as organization secrets.
If you define them as repository secrets, you will be able to use them in all your environments. That can be quite handy if you use many environments. If you define them at environment level, only this environment will see them. If you define a secret at repository and environment level, the definition at environment level wins.
If you are part of an organization, you can also define secrets as organization secrets.
One secret, OPENTF_CONFIG, is typically shared. It references your OpenTestFactory
orchestrator instance.
Depending on your preferences and security requirements, you can share the other secret,
OPENTF_TOKEN, between your environments or define one per environment.
Information
If you do not want to give those secrets those names, you can freely change them,
but then you will have to specify them explicitly in your GitHub pipeline, using the
--opentfconfig= and --token=command line options below.
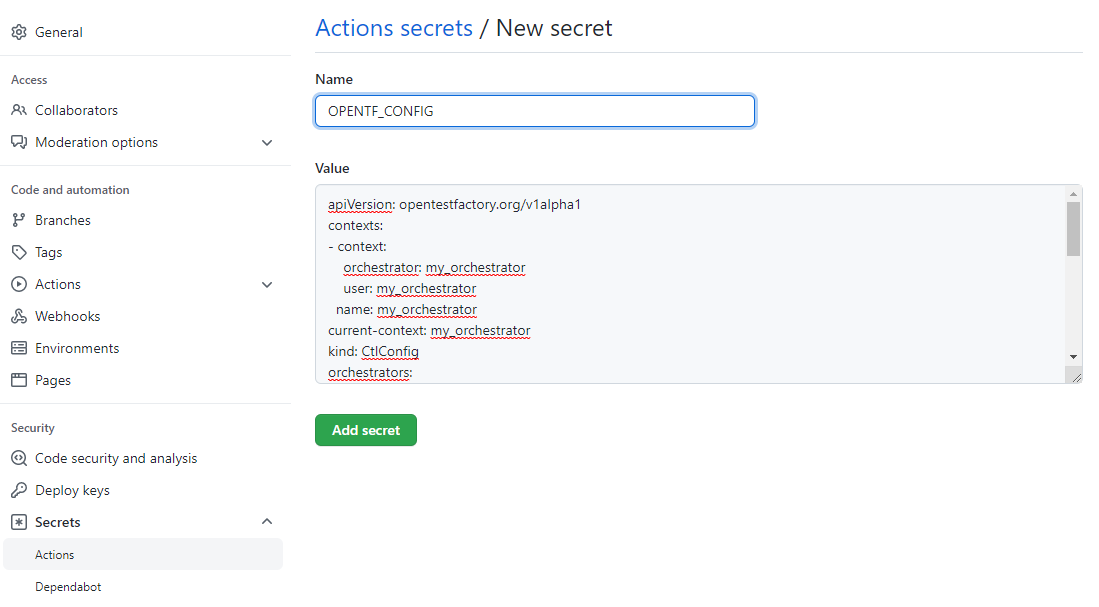
OPENTF_CONFIG
The OPENTF_CONFIG secret should contain your orchestrator configuration file, that
is, the information needed to reach your orchestrator instance.
It will look something like the following.
apiVersion: opentestfactory.org/v1alpha1
contexts:
- context:
    orchestrator: my_orchestrator
    user: me
  name: my_orchestrator
current-context: my_orchestrator
kind: CtlConfig
orchestrators:
- name: my_orchestrator
  orchestrator:
    insecure-skip-tls-verify: false
    ports:
      agentchannel: 443
      eventbus: 443
      killswitch: 443
      observer: 443
      receptionist: 443
      qualitygate: 443
    server: https://my_orchestrator.example.com
users:
- name: me
  user:
    token: aa
Testing your configuration file
If you have not tested your configuration file before, it is a good idea to test it now.
On your workstation, install the opentf-tools package, using the following command:
pip install --upgrade opentf-tools
Tip
The above command will install the most recent version of the package. If you want to install a specific version you can use the following command:
pip install opentf-tools==0.42.0
The list of available versions is on PyPI.
Then, copy your configuration in a config file on your current directory, and use the
following command:
opentf-ctl get workflows --opentfconfig=config --token=YOURTOKEN
You should get something like:
WORKFLOWID
6c223f7b-3f79-4c51-b200-68eaa33c1325
31b5e665-819c-4e92-862a-f05d1993c096
Please refer to “Tools configuration” for more information on making your configuration file if needed.
Defining the secret
Go to your repository Settings tab, search for the Secrets section, expand it and choose the Actions view.
Note
If you are part of an organization and want to add this secret as an organization secret, go to your organization’s Settings tab instead of your repository’s.
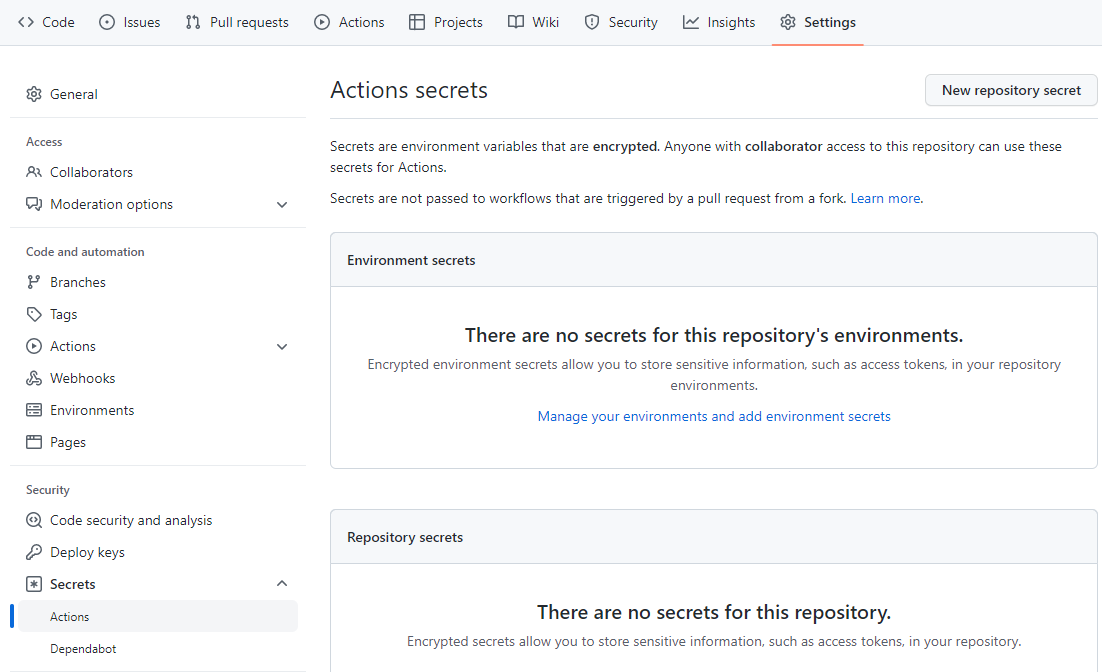
In this section, add a repository secret OPENTF_CONFIG with the value above.
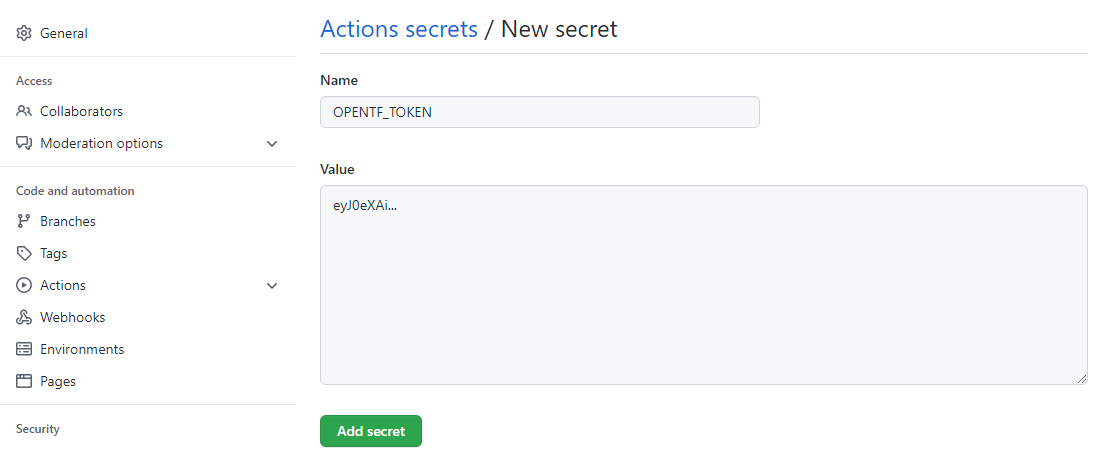
OPENTF_TOKEN
The OPENTF_TOKEN secret should contain the token you want to use to communicate
with the orchestrator.
Defining the secret
Add a new secret OPENTF_TOKEN with the value your token.
The two secrets, OPENTF_CONFIG and OPENTF_TOKEN, will be available for use
in your pipeline jobs.
Integration
Now that your two secrets are defined, you are ready to integrate your OpenTestFactory orchestrator within your GitHub workflows.
This section assumes a basic knowledge of GitHub Actions. See “Getting started and core concepts” for more information.
Note
There is no required location for your project’s workflows, but it is a good
practice to put them in a single location. .opentf/workflows is a good candidate.
In your repository, create the .opentf/workflows directory to store your OpenTestFactory
workflow files.
In the .opentf/workflows directory, create a new file called my_workflow.yaml and add the
following code:
metadata:
  name: My first workflow
jobs:
  greetings:
    runs-on: linux
    steps:
    - run: echo "Hi there"
Running a workflow
In your repository, create the .github/workflows directory if it does not already exist, and
in this directory create a new file called ‘run_opentf_workflow.yml’, with the following content:
name: Nightly e2e tests

on: [push]

jobs:
  build:

    runs-on: ubuntu-latest
    steps:
      - uses: actions/checkout@v2
      - name: Set up Python 3.x
        uses: actions/setup-python@v2
        with:
          python-version: '3.x'
      - name: Install dependencies
        env:
            OPENTF_CONFIG: ${{ secrets.OPENTF_CONFIG }}
        run: |
          python -m pip install --upgrade pip
          pip install opentf-tools
          echo $OPENTF_CONFIG >.opentf/config
      - name: Test
        env:
            OPENTF_TOKEN: ${{ secrets.OPENTF_TOKEN }}
            OPENTF_CONTIG: ./opentf/config
        run: |
          opentf-ctl run workflow .opentf/workflows/my_workflow.yaml
Commit these changes and push them to your GitHub repository.
Your new OpenTestFactory workflow file is now installed in your repository and will run automatically each time someone pushes a change to the repository.